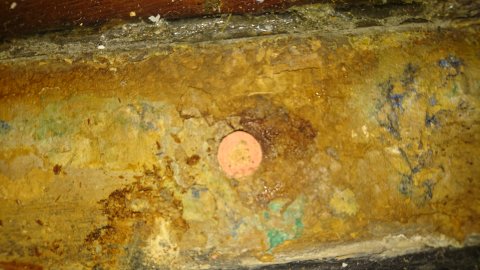
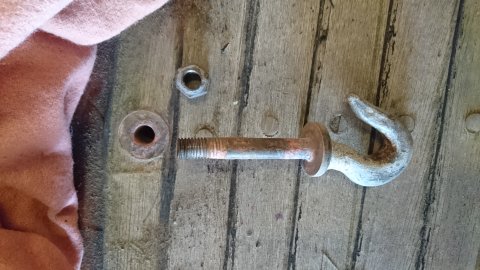
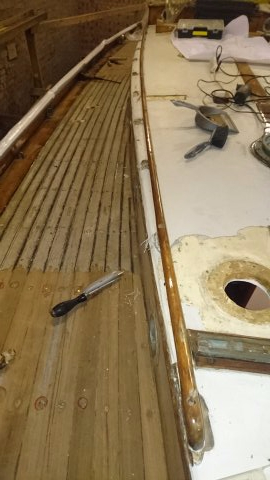
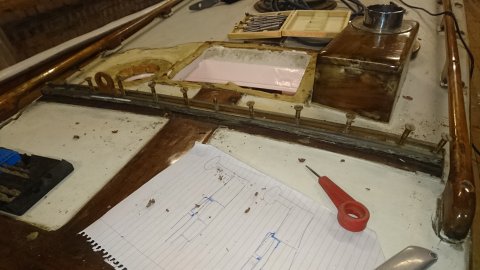
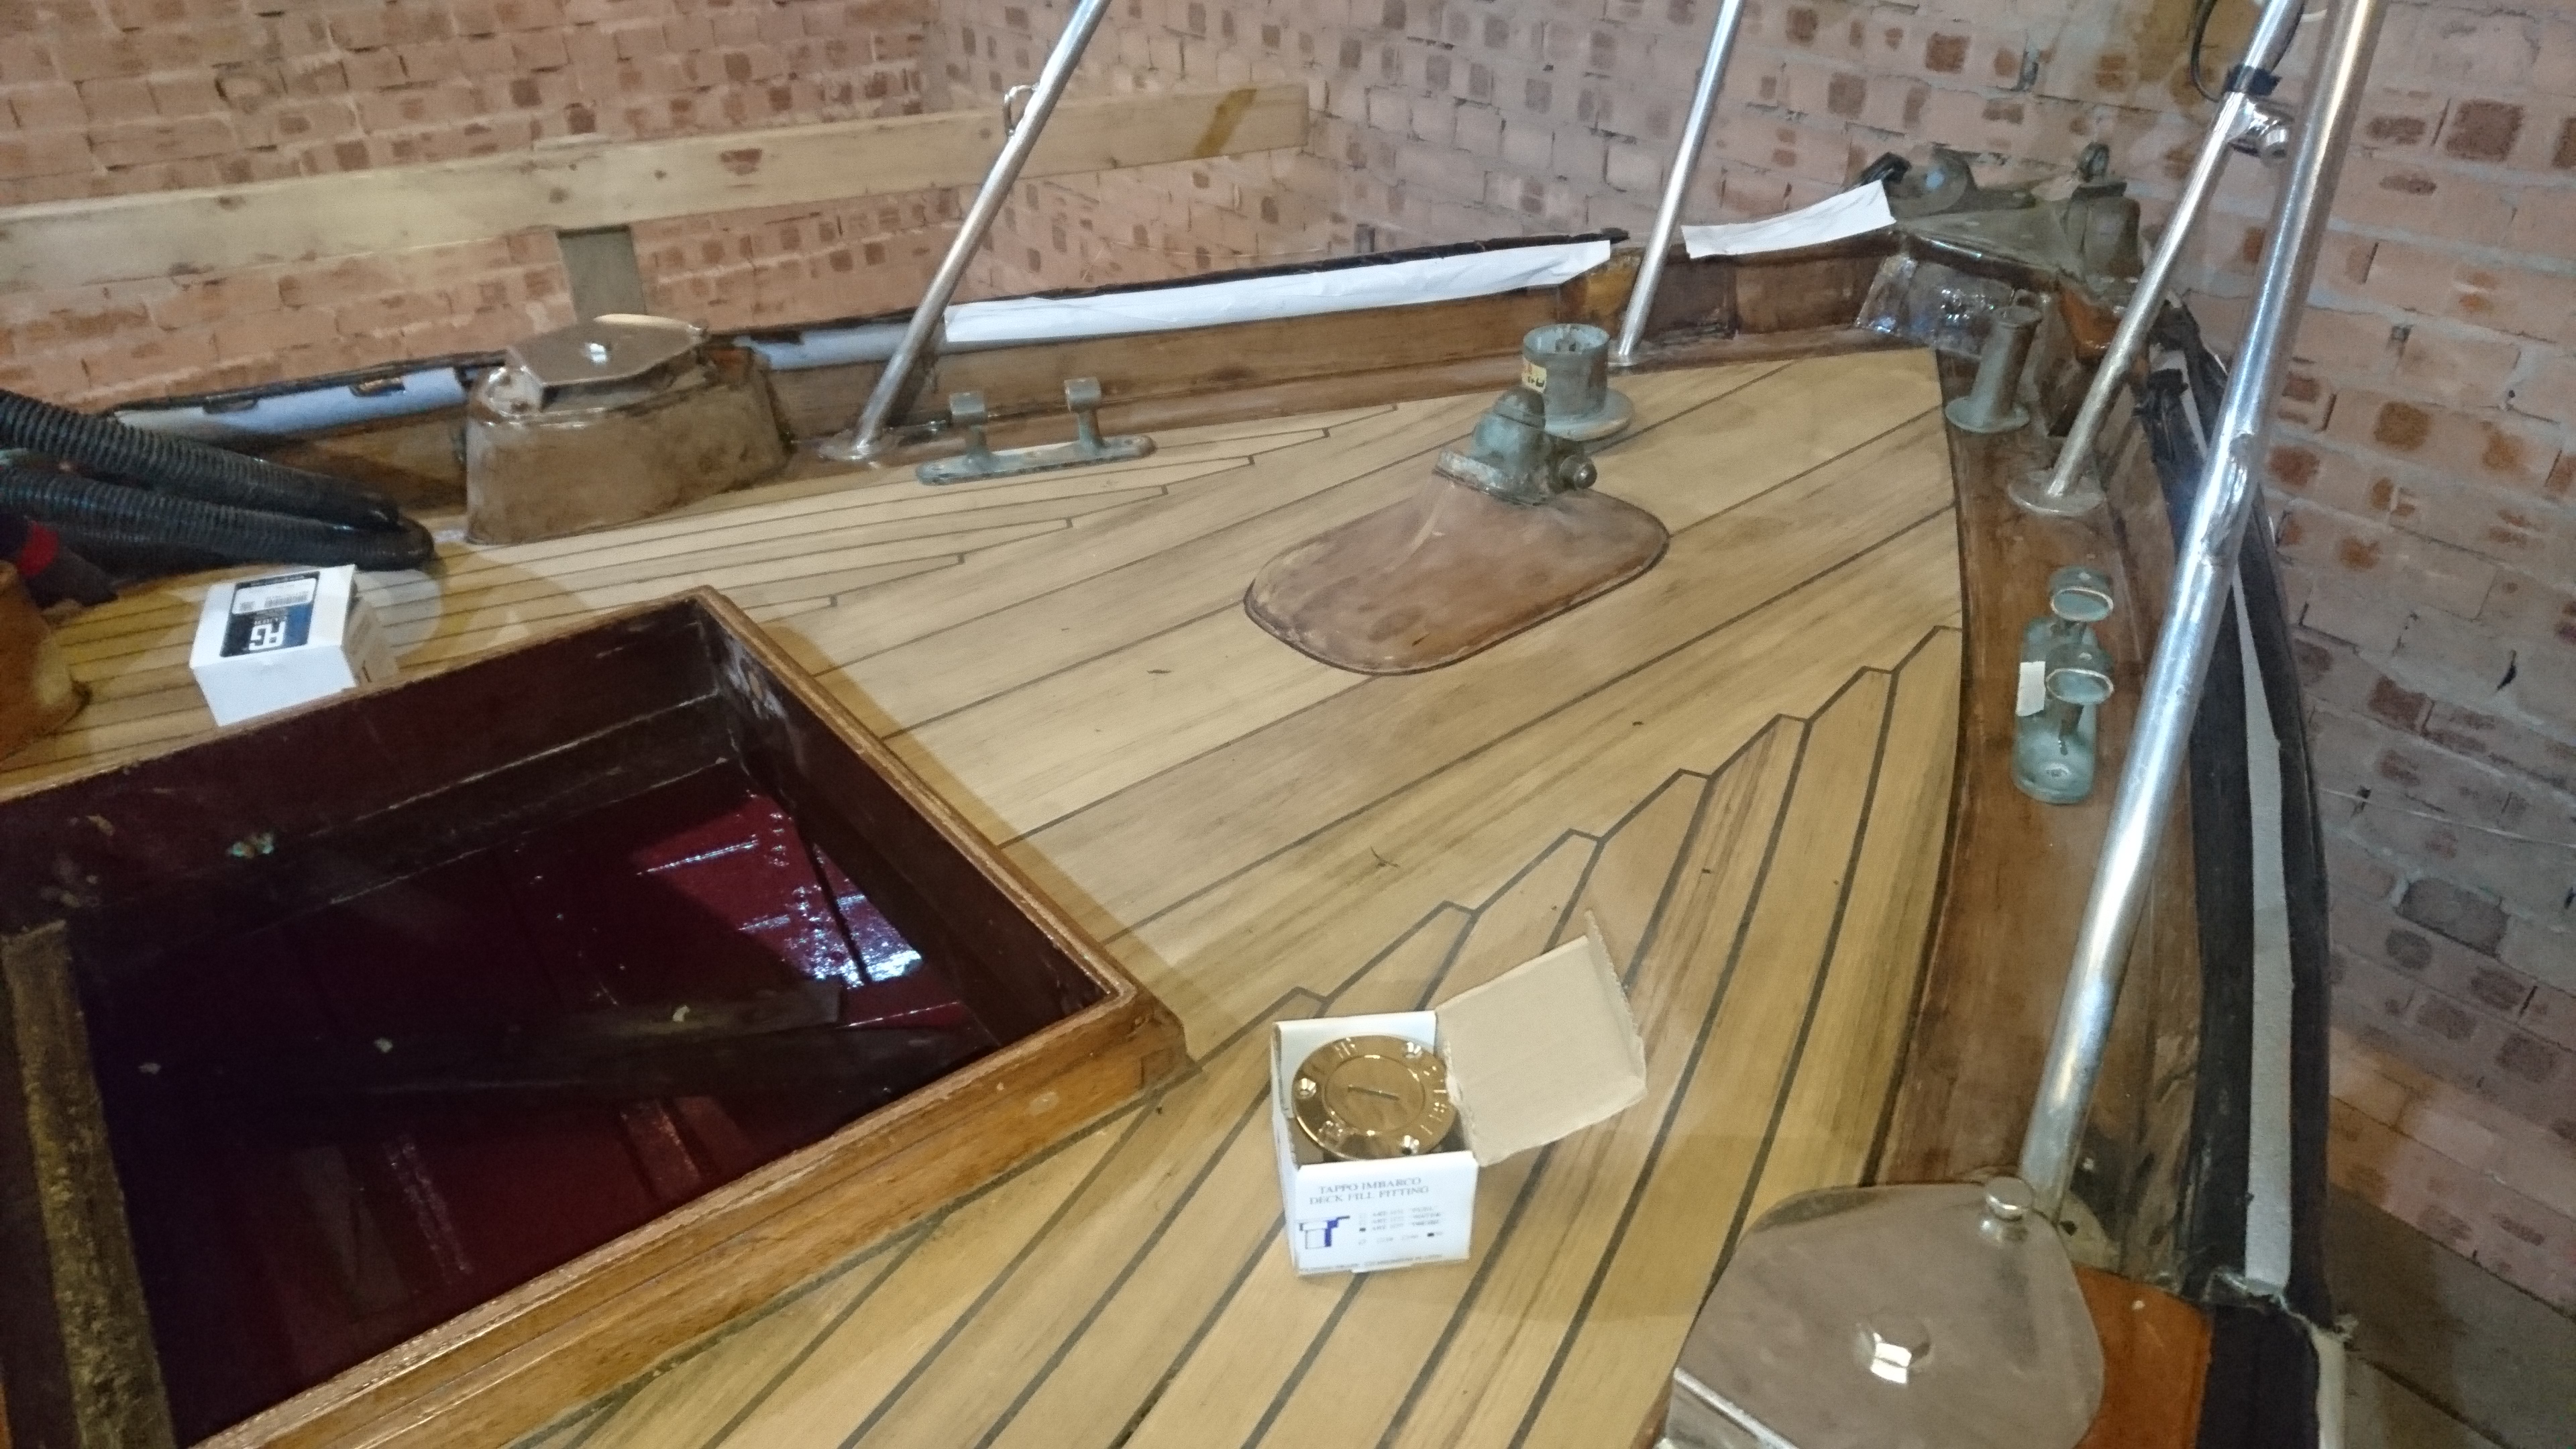
Once the fittings were off the deck itself was handed over to Chris Ings the boatbuilder. The whole deck was skimmed with a router, about 5mm below original top face, this was about the lowest wear. The fastenings were then “graded” based on quality and depth using a shape code system so as to make an informed decision on whether to go deeper and estimate the percentage of fastenings requiring to be replaced. It was decided to go to 8mm below original top face requiring some additional fastening replacement but reducing the final new deck height and so minimising knock on effects.
Around 30% of the fastenings were replaced either because they were wasted or protruding too high, this was done with stainless screws. It was also decided that the first seam at the covering board should be dug out and re-calked traditionally as this join would not be covered by the ply. The 4mm marine ply was fitted on a mastic bed to allow movement between the original planks and the new deck. The ply was also close nailed to ensure it had good pressure on the mastic.

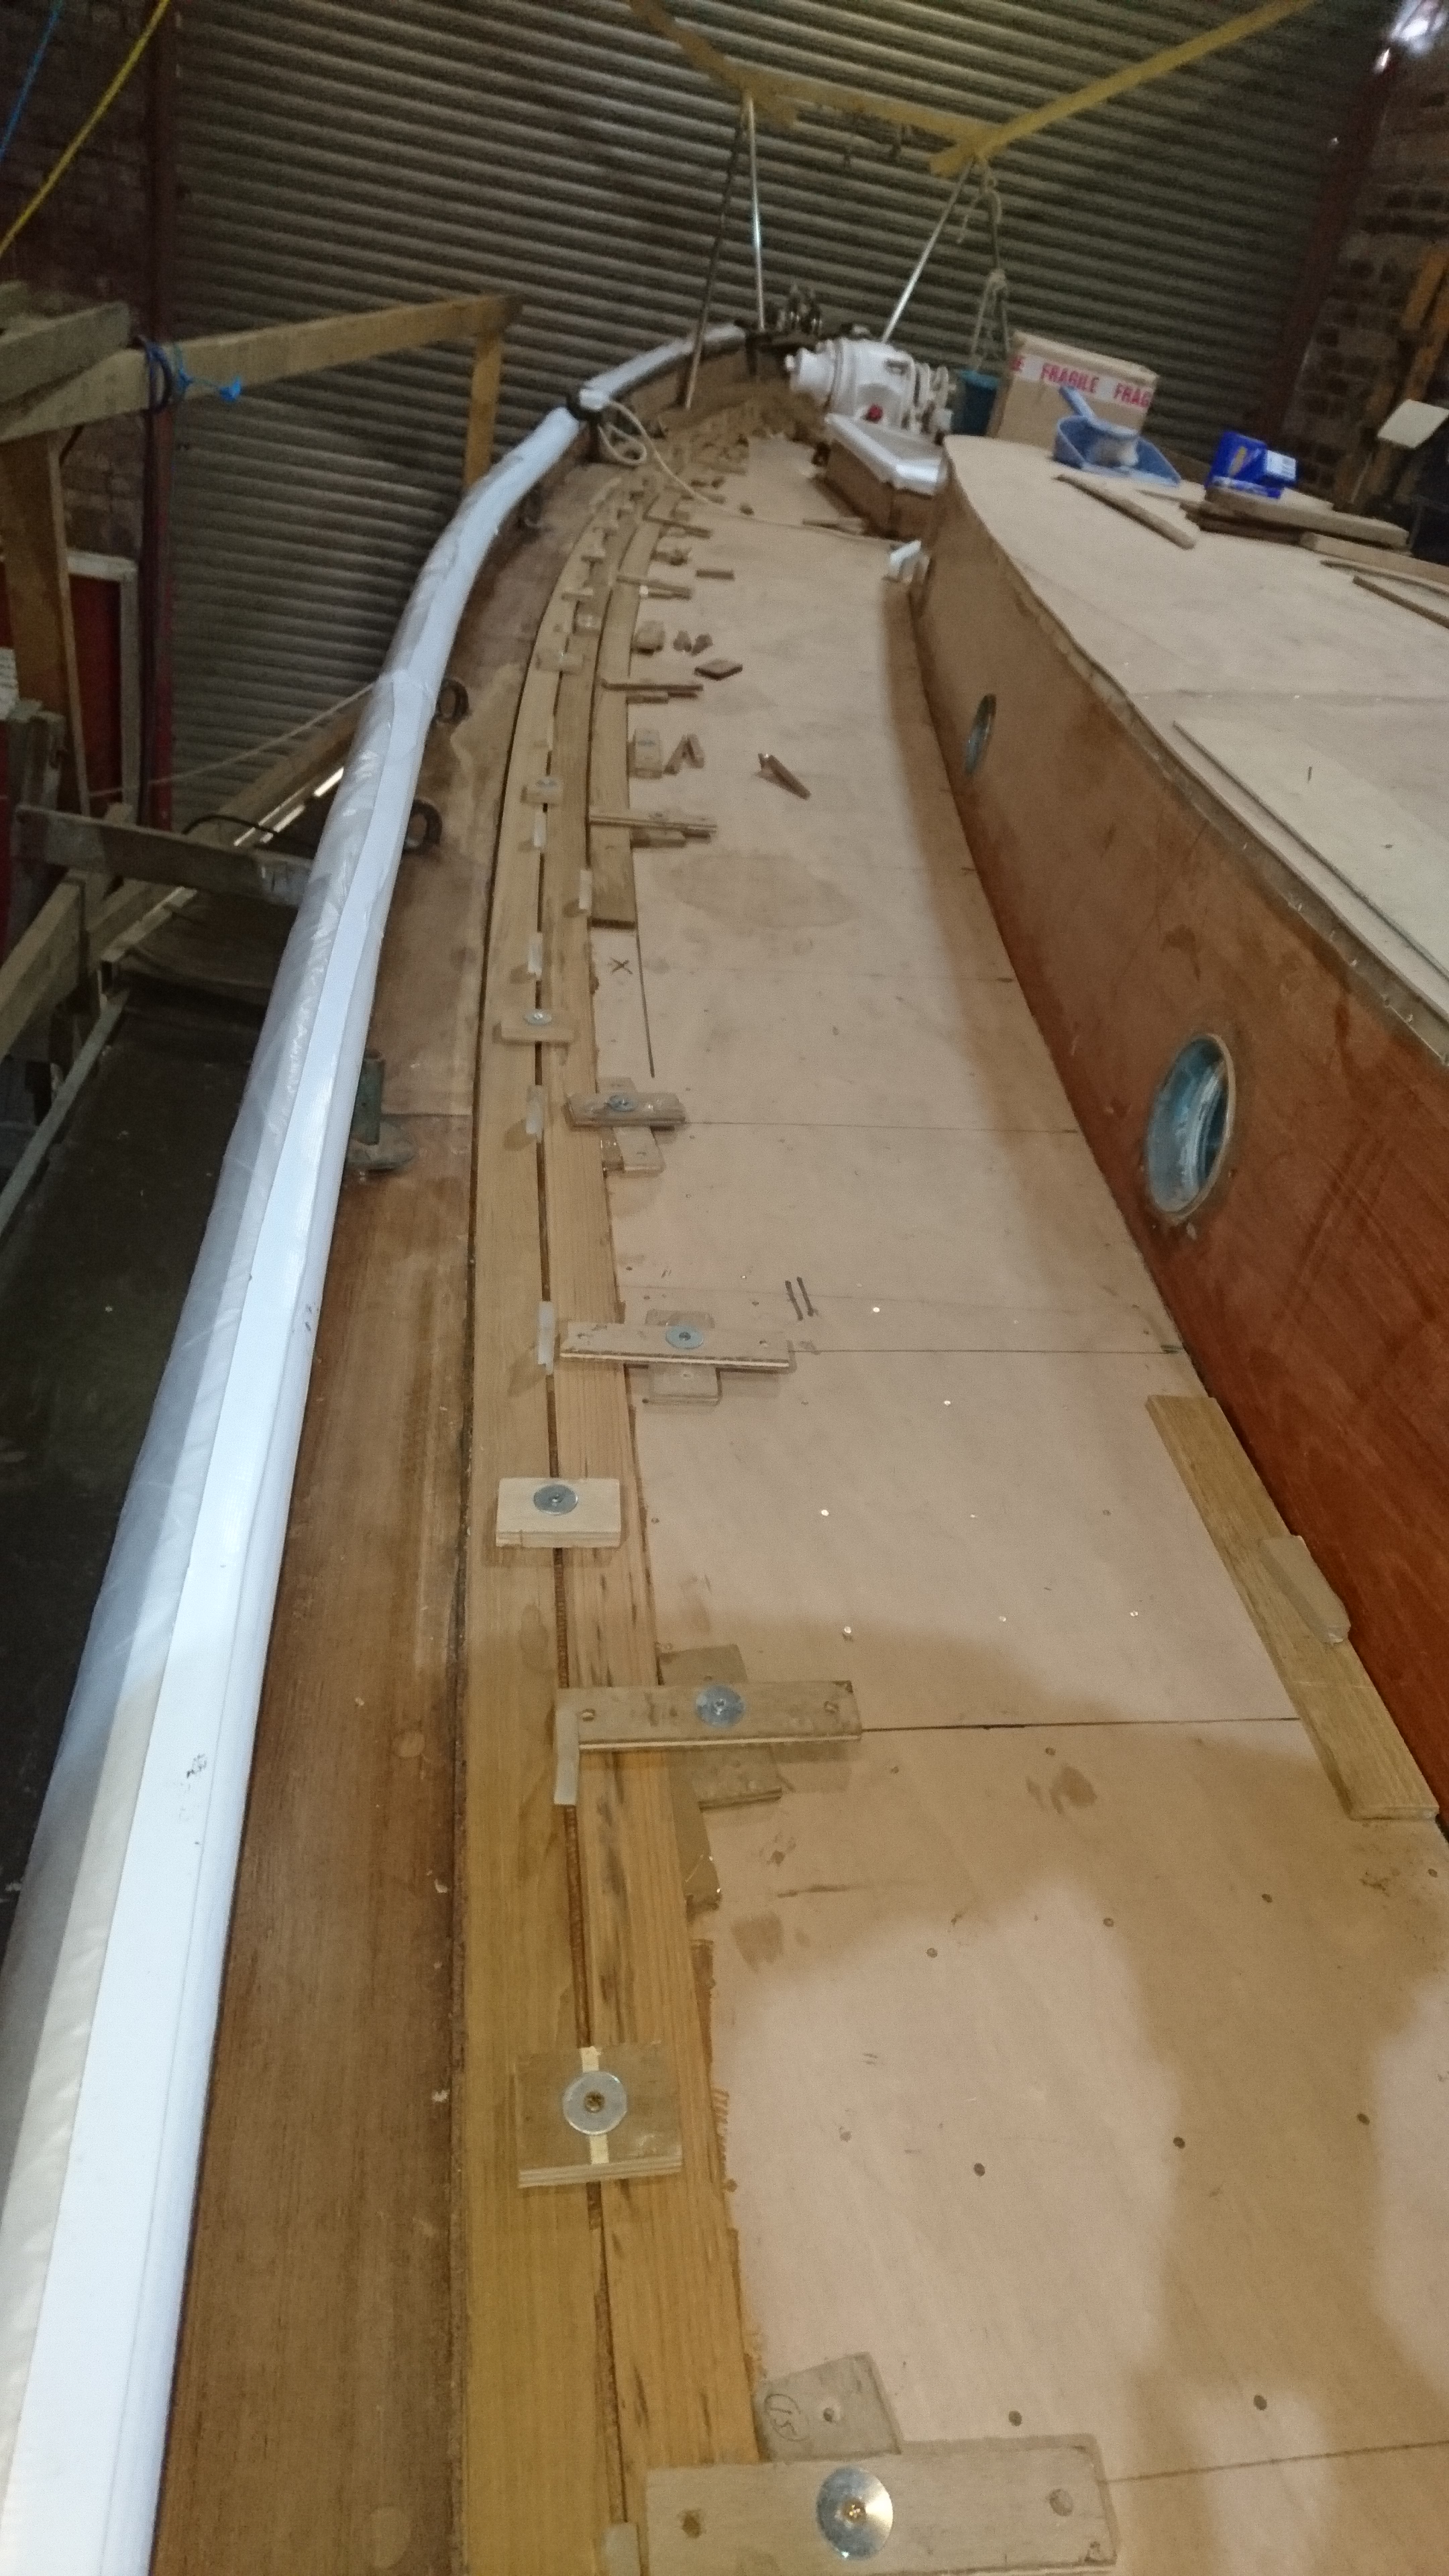
The planking was then begun from the covering board with a 5mm seam. the 8mm router and addition of 4mm ply and 9mm teak left the new deck higher than the original but close enough not to cause too many issues. It took a month or two to get the planking done, it was often too difficult to get the shed warm enough for epoxying the teak to the ply but during this time I did a lot of work internally in the areas not normally accessible such as behind the fuel tanks and electrics.
As the deck got close there was pressure on to get all the removed fittings back to Chris, cleaned up and ready for refitting. and as the weather improved the varnish work could progress, the coachroof sides had been stripped back and the cochroof itself had new woodwork.
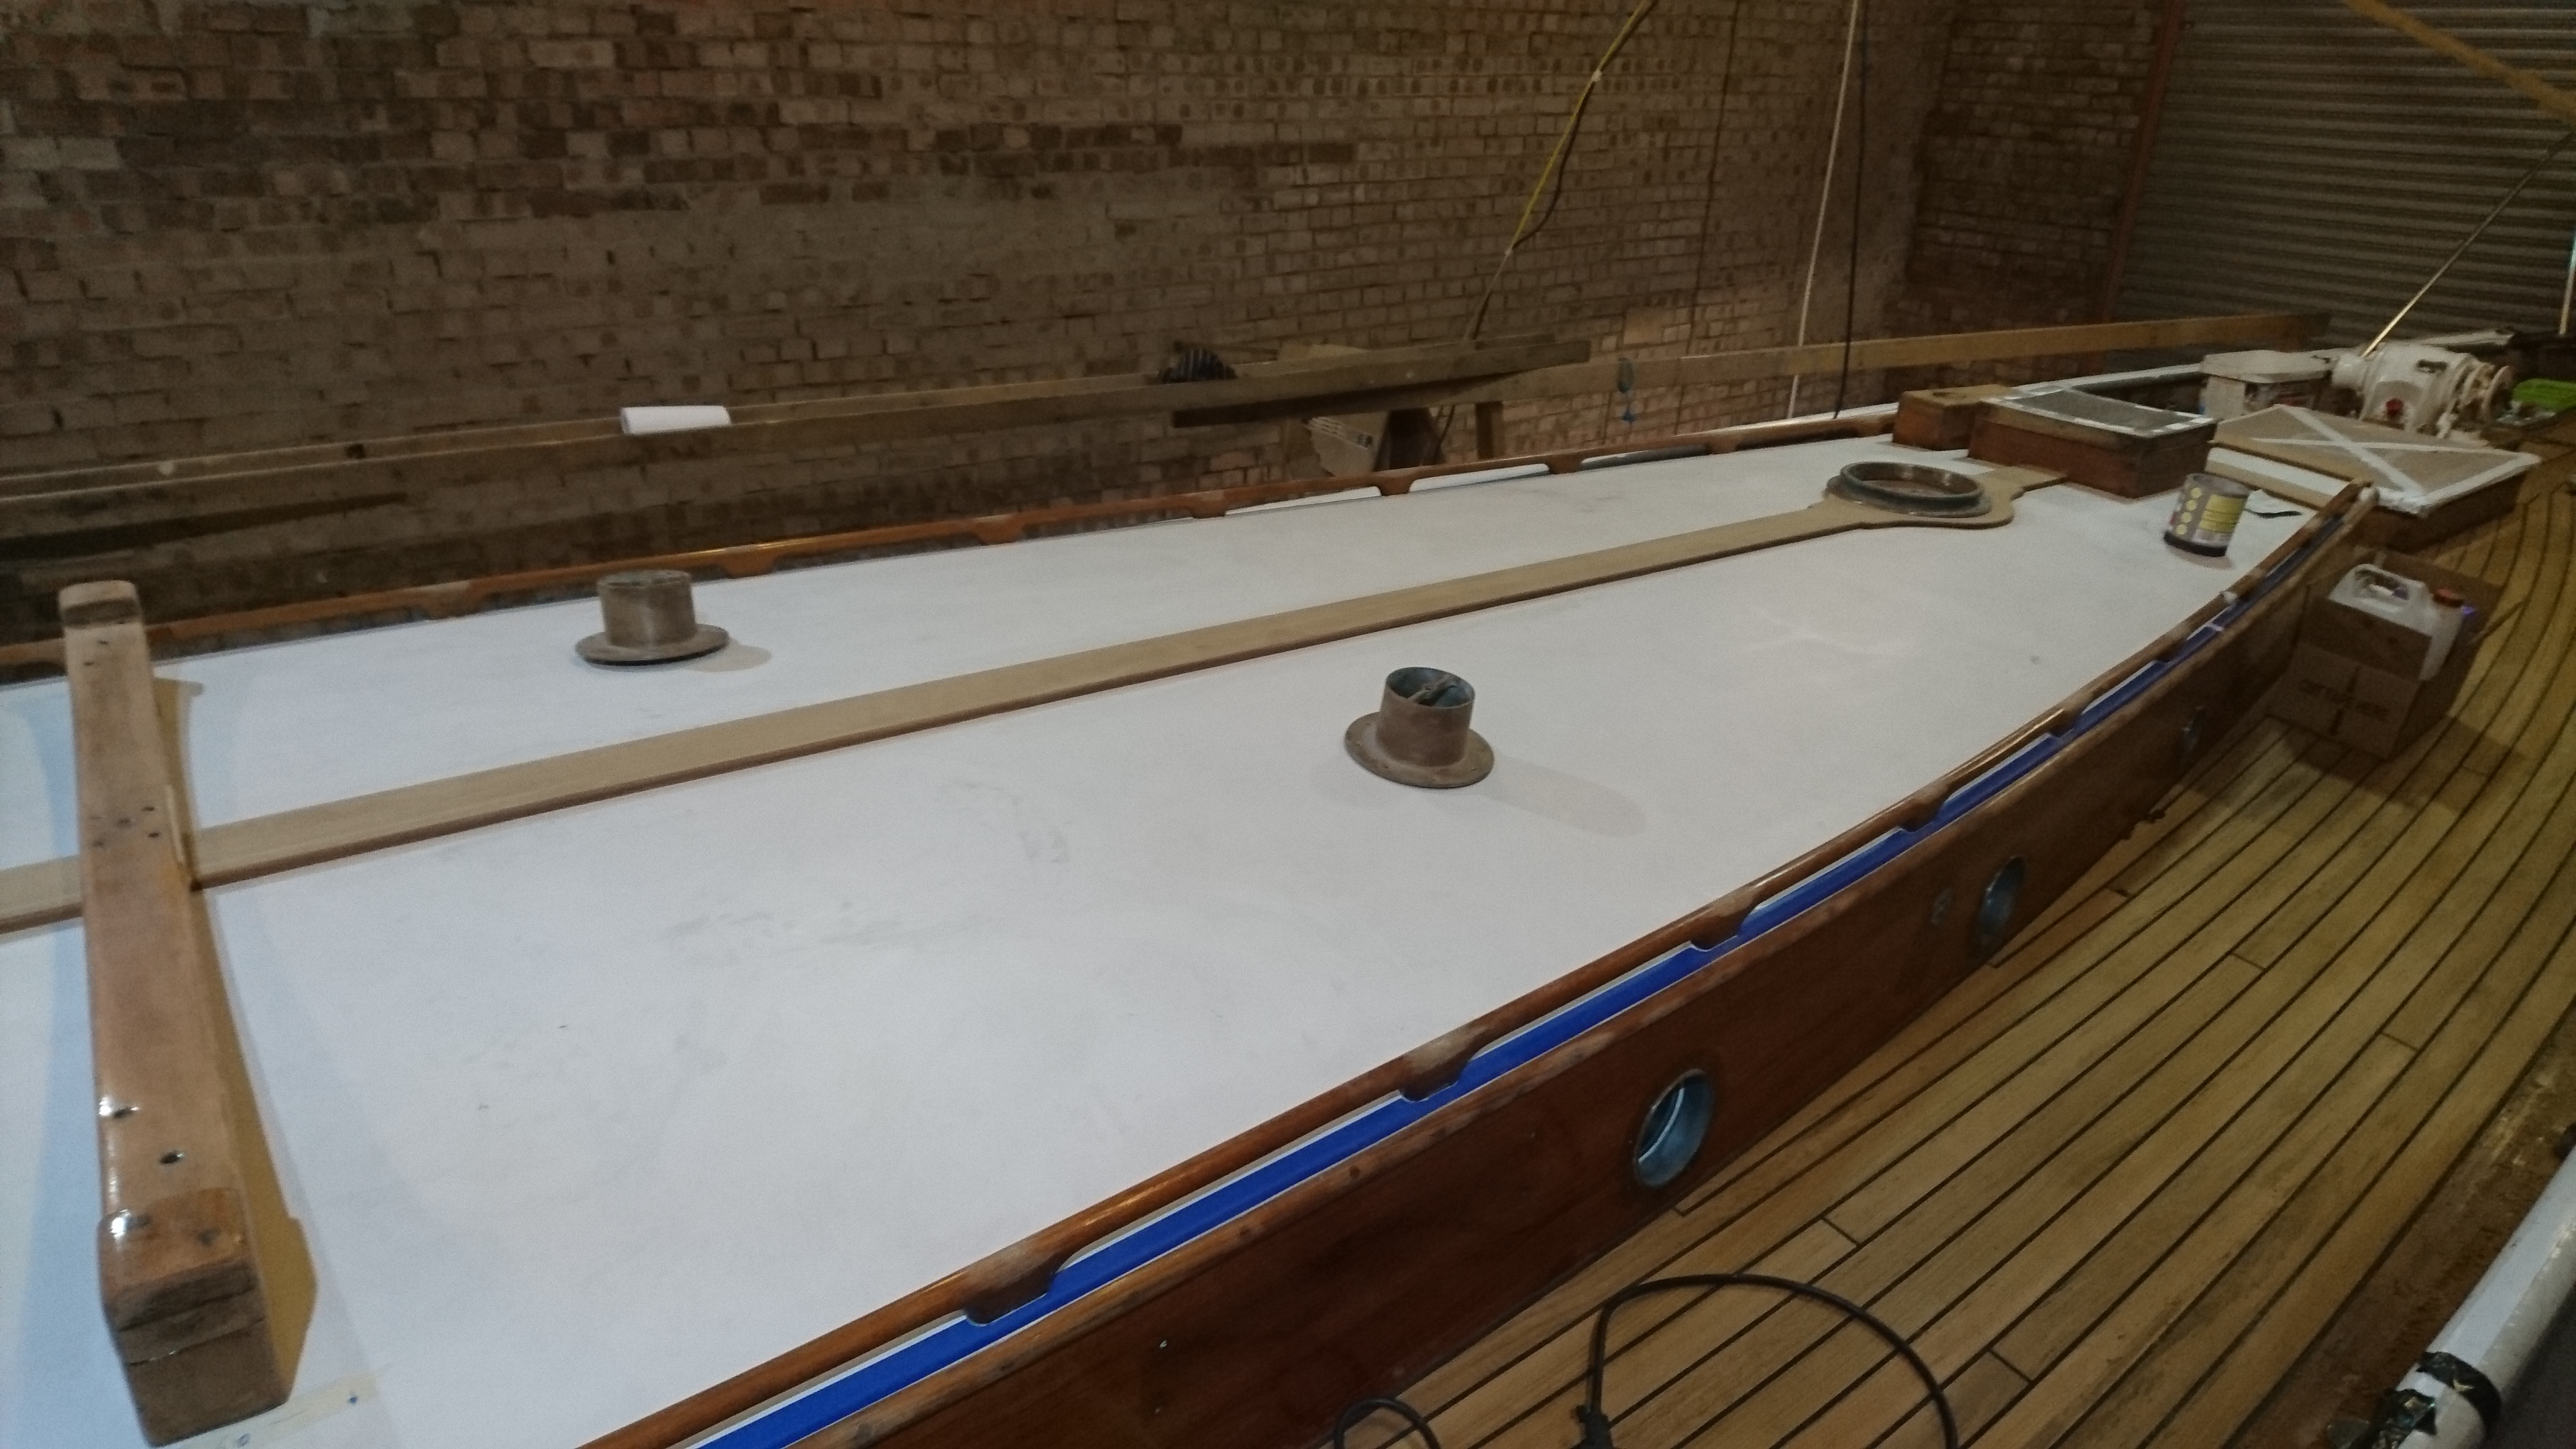
The coachroof was ply then glass with a polyester fine nonslip finish to look as close as possible to the original canvas so no patterns or heavy duty grip.
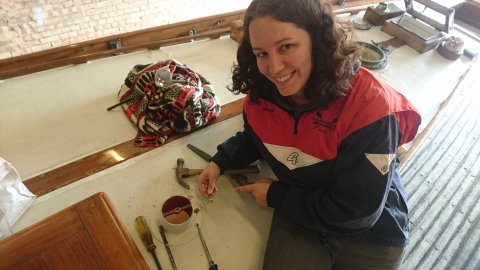
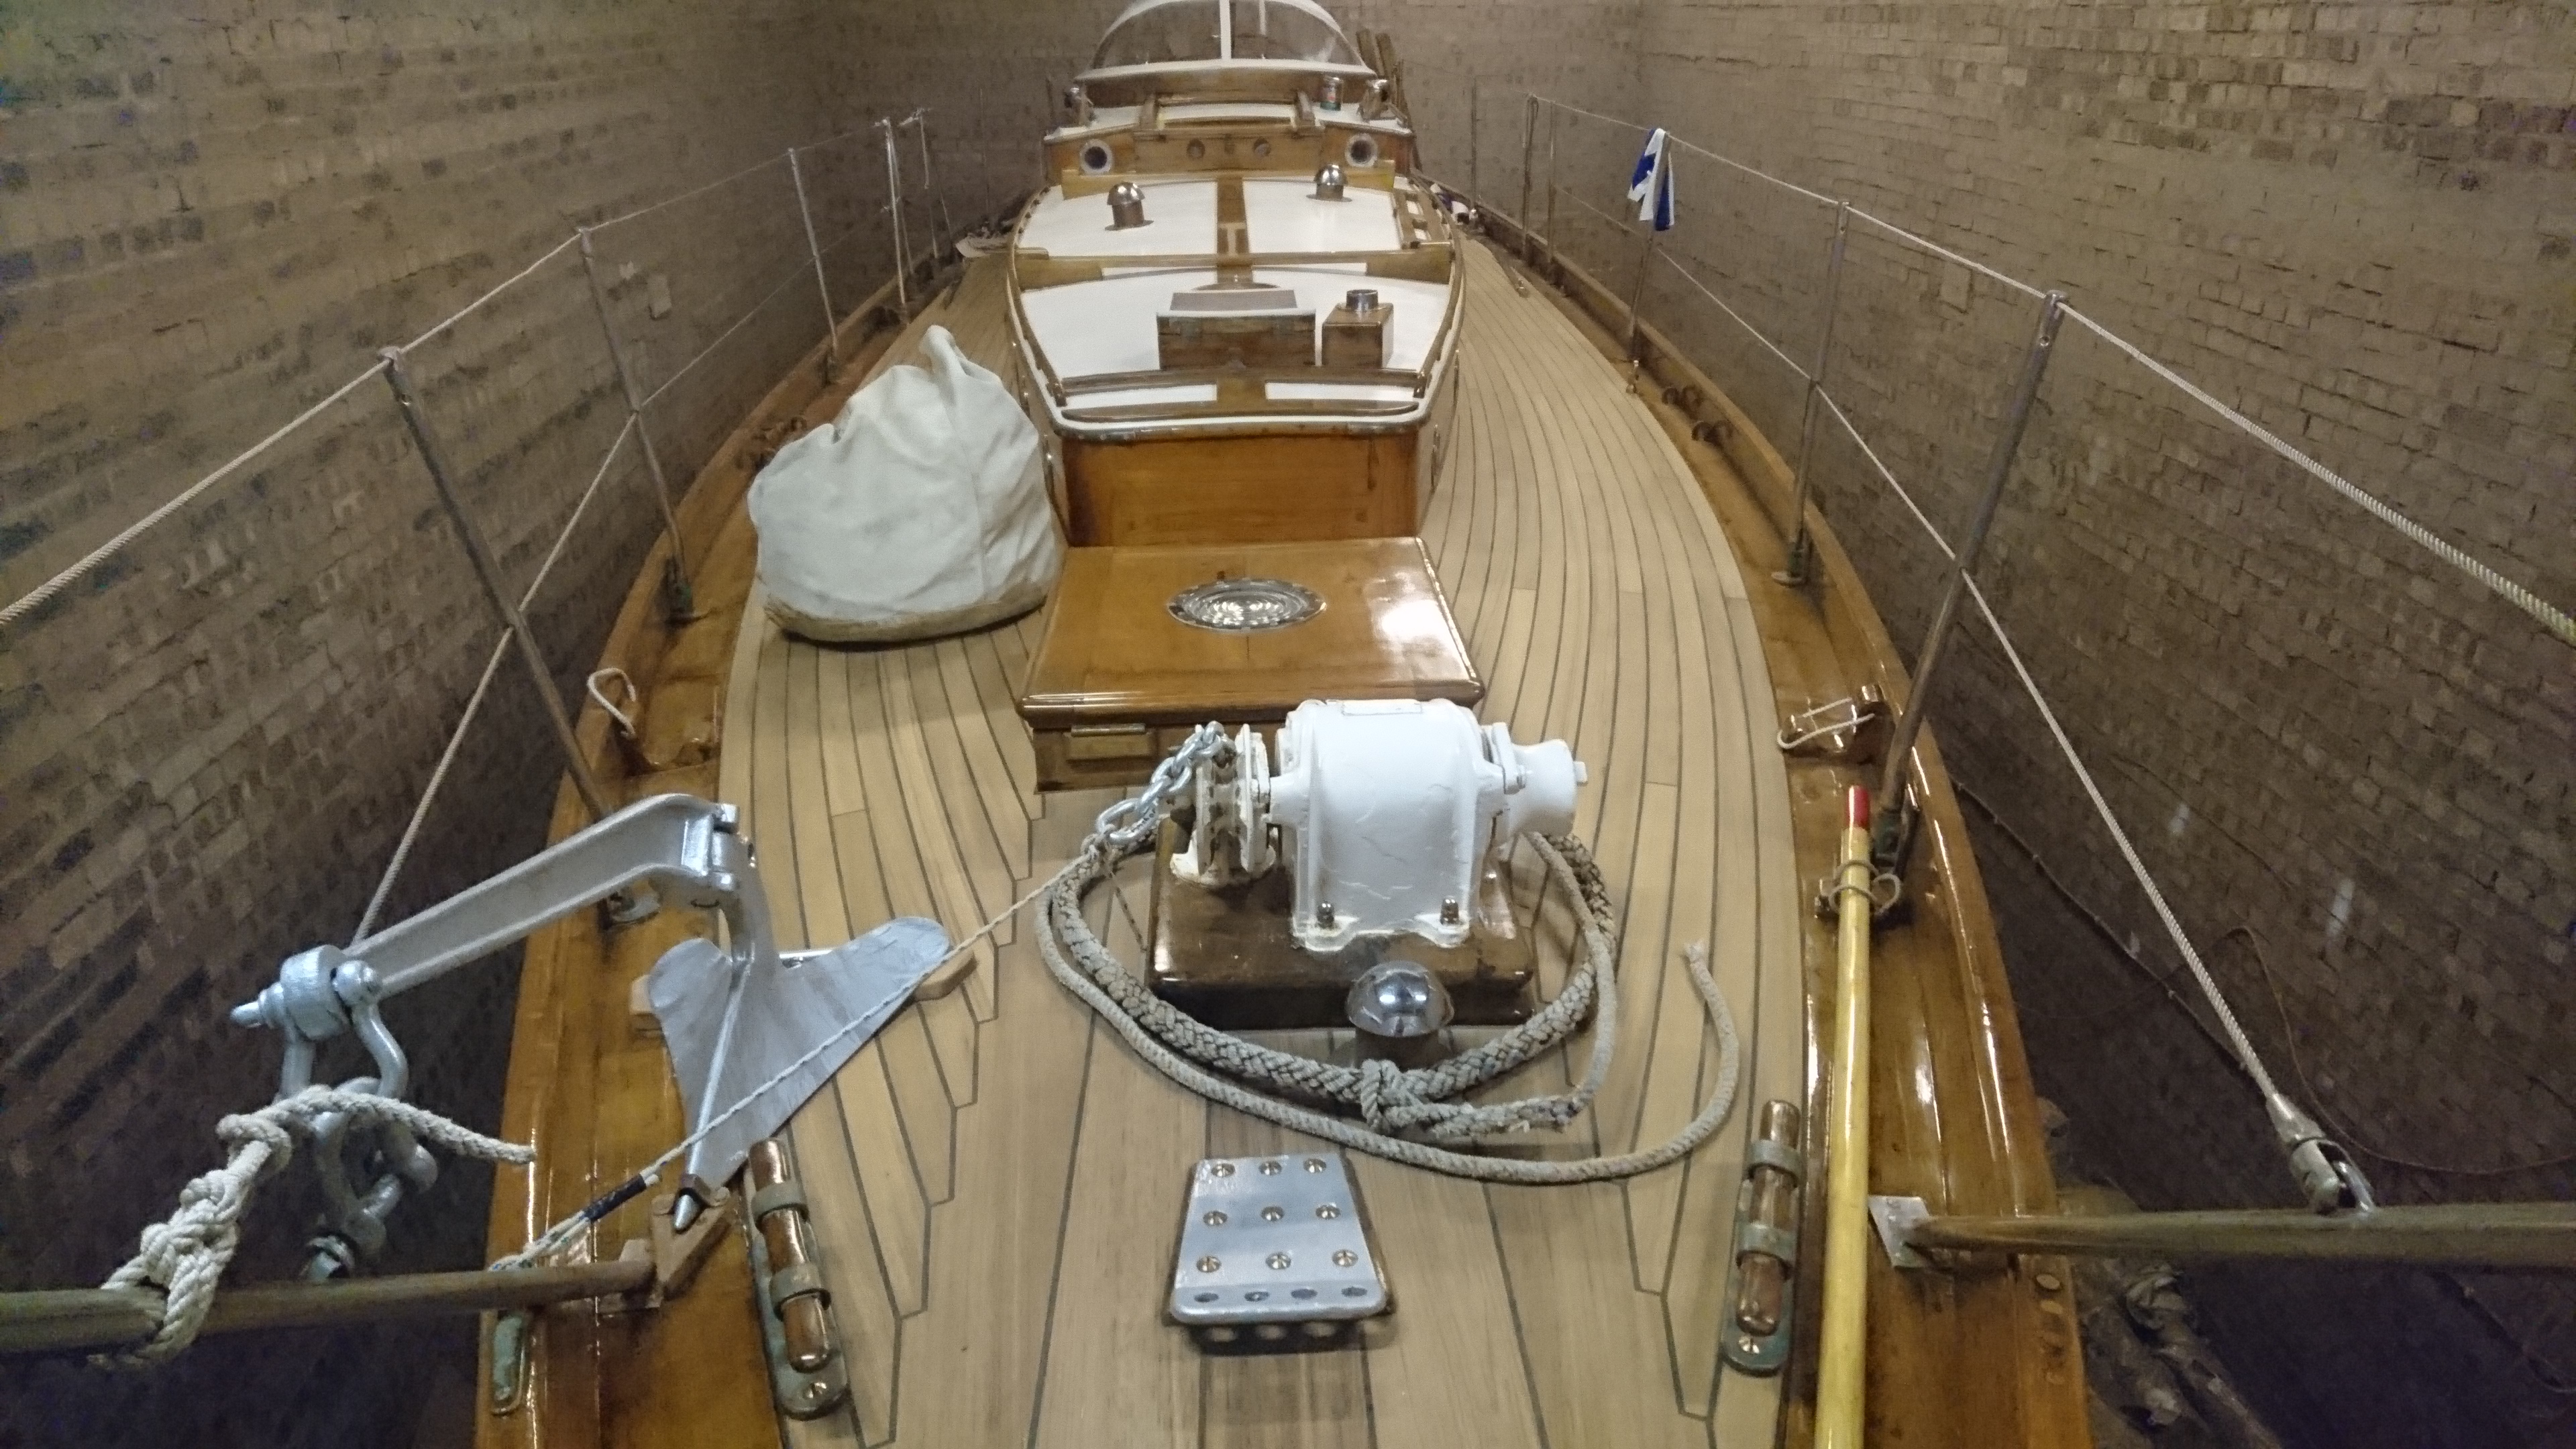
It was a joint effort with Chris, Alison, myself, and my brother to get the fittings back on. It is a more reliable process with clean fittings and new fastenings but there are a few more specialised tools required for getting access and a tidy finish.
The whole task was pretty successful, reasonably on time and budget. It took around 140 working days excluding work at home scraping woodwork and cleaning fittings so probably an additional 15 days.
There is not that that much I would do differently, it would be nice to have a warmer environment as that caused delays even with two gas jet heaters but there are few better facilities. The materials all appear good, teak from Robins which was graded by Chris at the start to separate out maybe 5 planks and a few sections which were not of suitably high standard. We went for butt seams because I think it makes the finish more real in a world of good fake teak and also I believe it is a more reliable finish. The original deck had scarfed buttless joins, very neat, but they all leaked as there is no calking between and the glue only lasts so long.
We didn’t remove the winch blocks which are not original and sit on the original deck so the detail around them is now not true to construction but I don’t mind and you would have to try very hard to notice anything out of place.